Festival of Lights
Hanukkah, also known as the Festival of Lights, is an eight-day festival that involves food, prayer, dancing, oil, candles...and cookies, of course!
“Better to light a candle than to curse the darkness.” Chinese Proverb
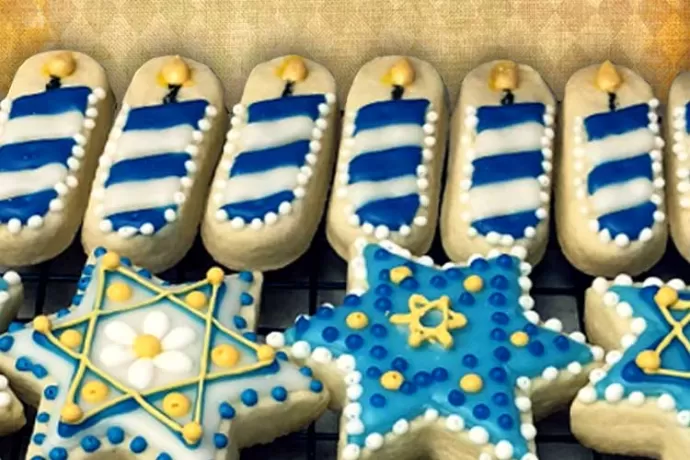
I love the colors of Hanukkah...blue, gold, and white. I also love the tradition of lighting a new candle every night for eight days until the menorah is completely blazing. It hadn’t occurred to me to make cookies for this holiday until about a year ago, but once I thought about it, I knew it would be fun. I wasn’t mistaken and the results were beautiful.
Cookie specifics
Soft Sugar Cookies. I chose to make the Hanukkah cookies using this recipe because it makes a cookie that has a subtle hint of almond extract and a chewy, soft texture. They are cut a little thicker than the average cutout cookies, which makes every bite an experience of chewy perfection.
Shapes
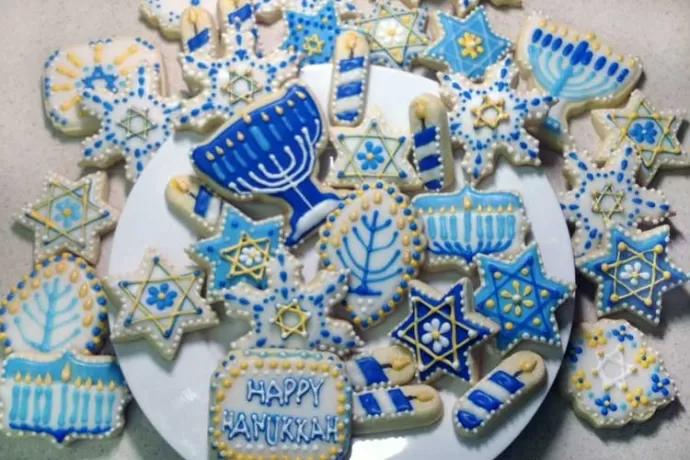
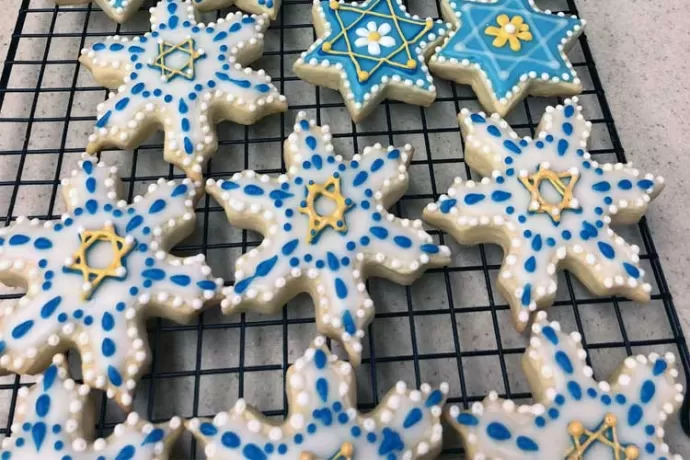
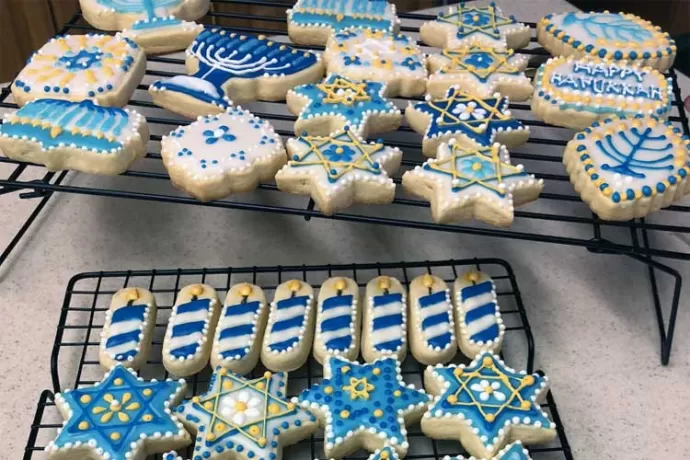
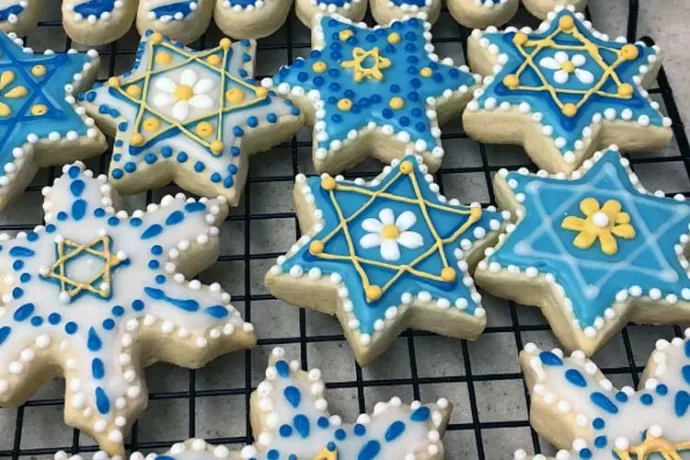
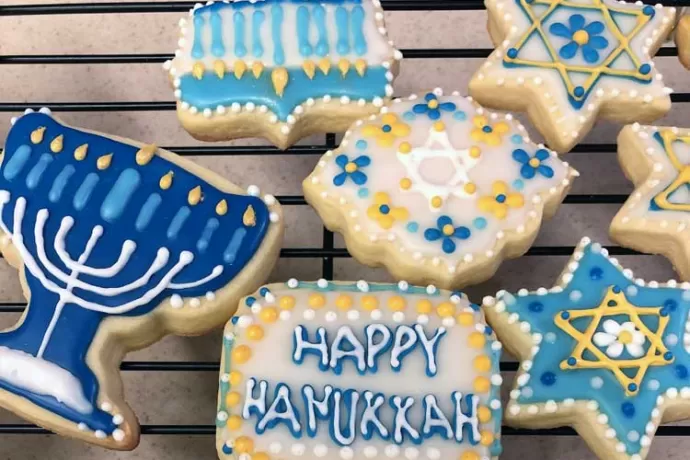
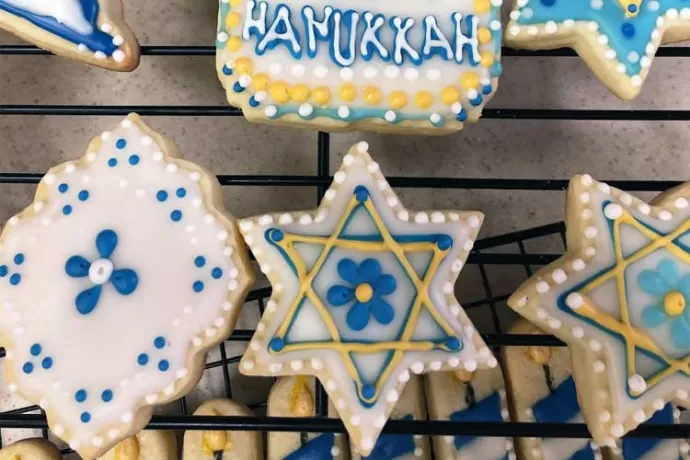
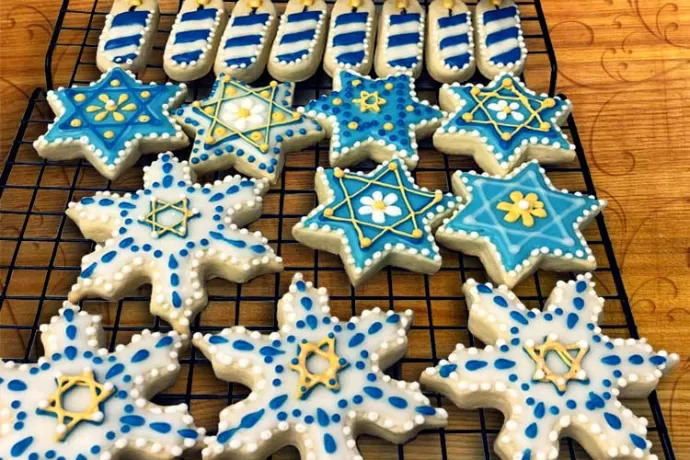
Six-pointed Star of David, trophy cookie cutter (for the Menorrah), six-pointed snowflake, diamond-shaped cookie cutter (for a different take on the Menorrah), plaques, letter “i” (for the individual candles)
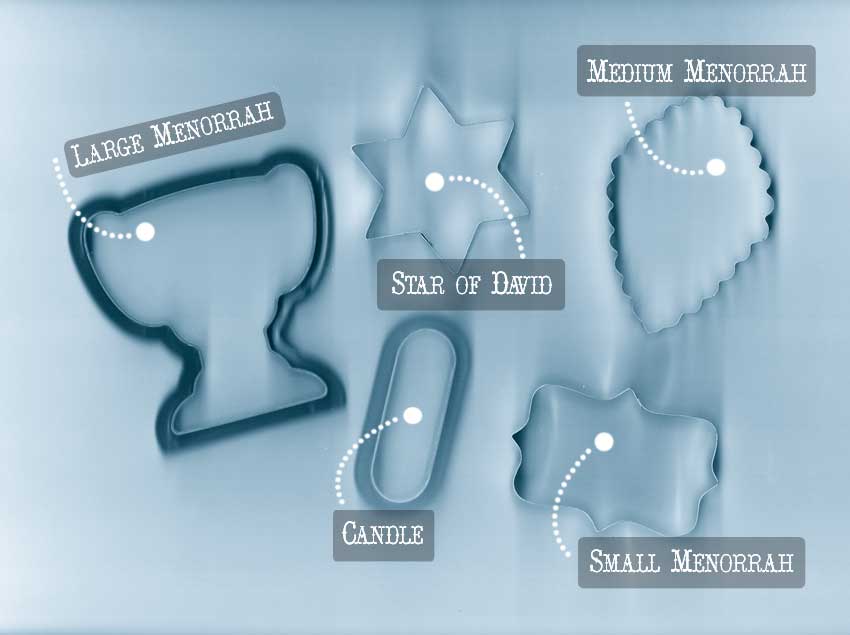
Sizes
Sizes range from 2½ to 4 inches. 2½ to 3 inches is my favorite size for decorating and eating!
Greetings & Messages
rectangle with pointed edges, diamond shapes, numerous plaque shapes, plus straight, fluted, and zig-zag edges
Cookie Recipe from This Talented Cookie Artist
Soft Sugar Cookies. Original recipe from The Food Charlatan.
My Recipe
Glaze for Piping: This glaze/icing dries hard enough that you can stack or package the cookies without damaging the embellishments. I often use it exclusively or in combination with Royal Icing.![]() Glaze for Piping Recipe
Glaze for Piping Recipe
Cookies
Soft Sugar Cookies: flour, butter, cream cheese, granulated sugar, egg, almond extract, pure vanilla extract, salt
Icing & Decorative Embellishments
Royal Icing: confectioner’s sugar, egg whites, corn syrup, pure almond extract, cream of tartar, food coloring
Glaze: sugar, water, corn syrup, food coloring, vanilla extract for flavoring, food coloring
Box or Bag?
Both! I put each cookie in a bag, then put the bags into a box...double security because they were being mailed across the country.
Box. My favorite way to transport my cookies is to package them in a cardboard bakery box with a clear window on top that makes the contents visible to anyone who wants to peek. I was able to fit 16 bagged cookies into each box.
Bags. For added protection, I wrapped each cookie individually in clear, food-safe bags, secured with a twist tie. This made the cookies stackable and packable without causing damage to the decorations.
Mailing. I mailed the cookies to my family by Priority Mail through the U.S. Post Office. I used a box provided by the Post Office and lots of bubble wrap!The cookies arrived undamaged and were promptly eaten.
What I’ve learned...
These cookies were made with the best ingredients I could find and baked in a small batch of two dozen. I’ve experimented with less expensive ingredients, but have come to the conclusion that flavor is best when I use the best. Why spend all this time baking and decorating if taste and texture are just so-so? Decorating the cookies takes time, but it’s an enjoyable process for me and I know that those who receive them appreciate that. Life is just better when you can share something you love with someone you love. Don’t you agree?

Leave a comment