Happy Halloween!
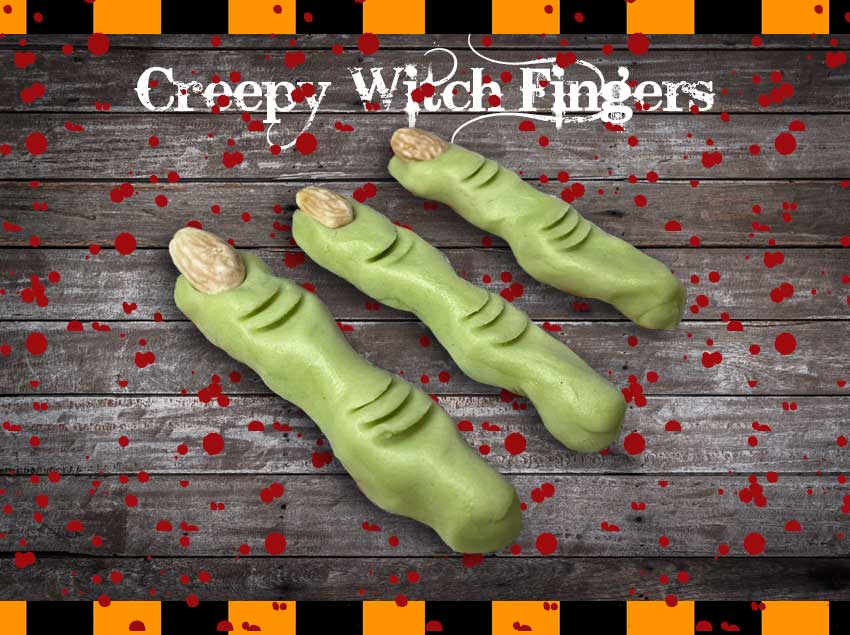
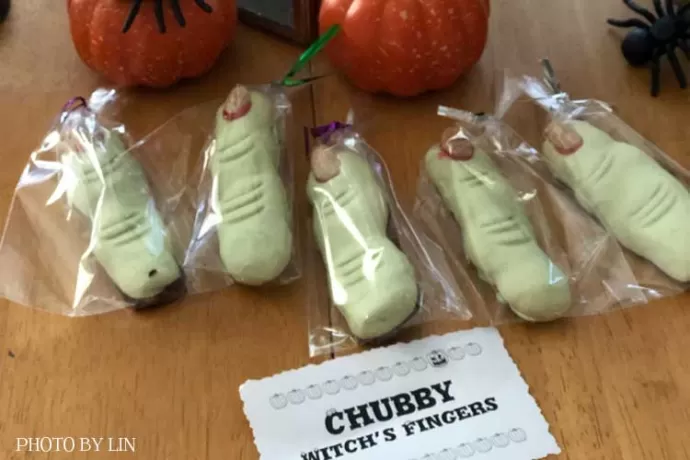
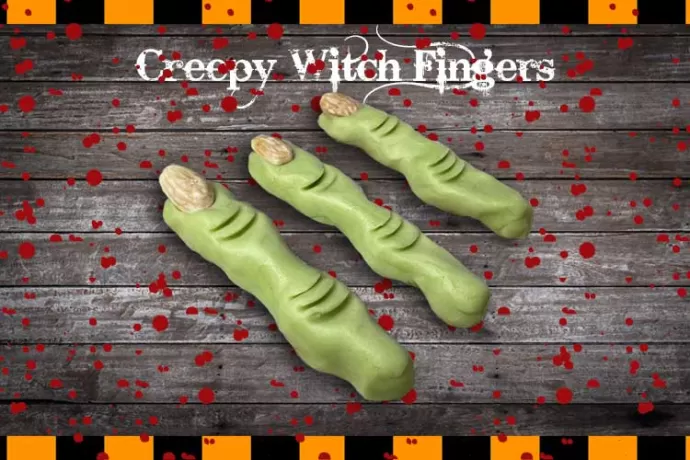
I tend to shy away from the really macabre part of Halloween and focus on the cute and humorous. But this year I did both. These Chubby Witch Fingers are indeed scary but were toned down by their companions, my Cheerful Pumpkin Cookies. At least that was my hope.
“It’s Halloween, everyone’s entitled to one good scare.” Sheriff Leigh Brackett, “Halloween”
I was fascinated by the “Creepy Witch Finger Cookies” by Janet at Simply So Good. I knew I had to make them for Halloween and send them to my grandkids and nephews and nieces. They’re all old enough now to enjoy the ghoulish look of these treats and not be afraid to eat them! See more about Janet’s creation in The Recipes section below.
Cookie specifics
Shortbread. This cookie is a shortbread cookie that melts in your mouth.
Shapes
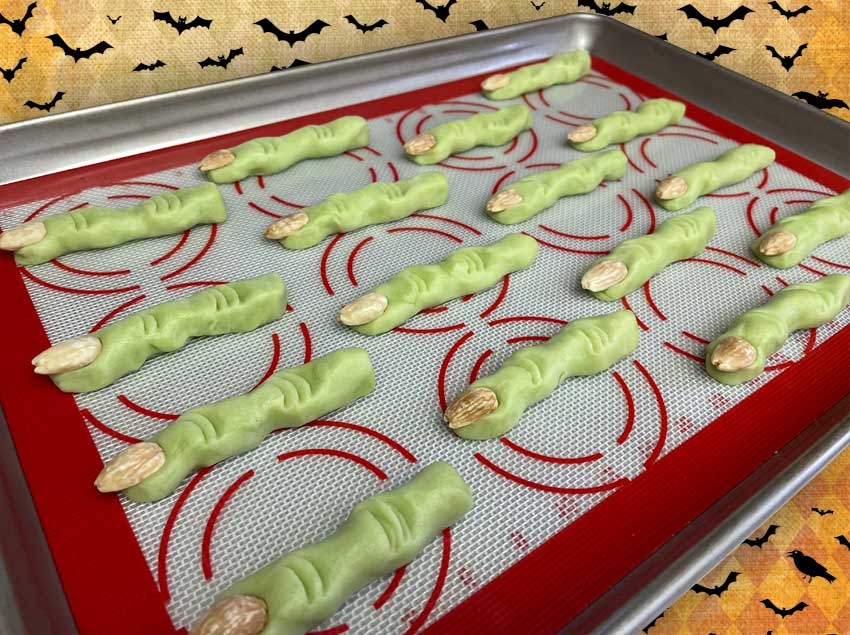
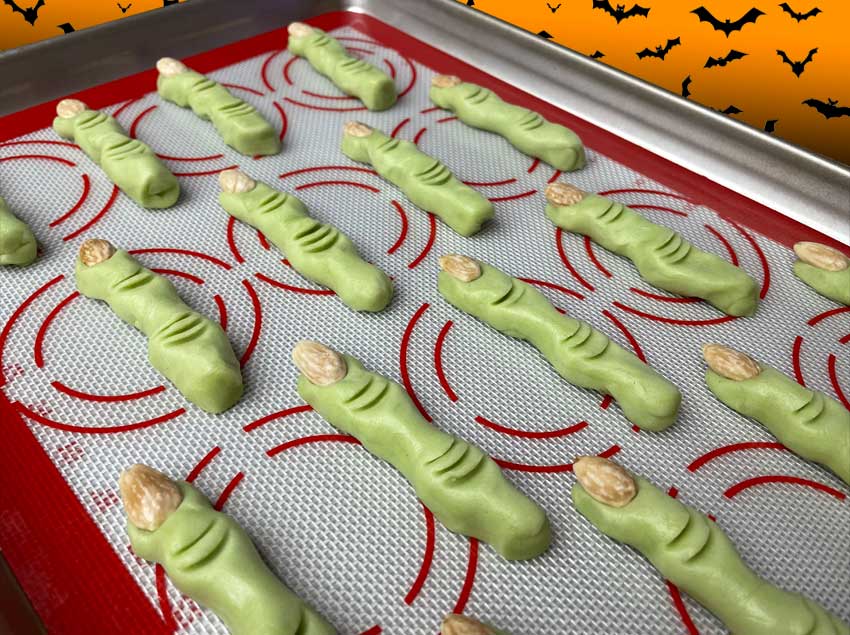
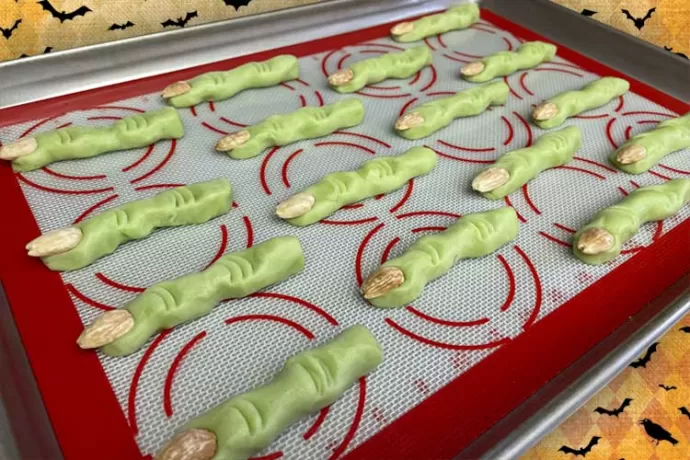
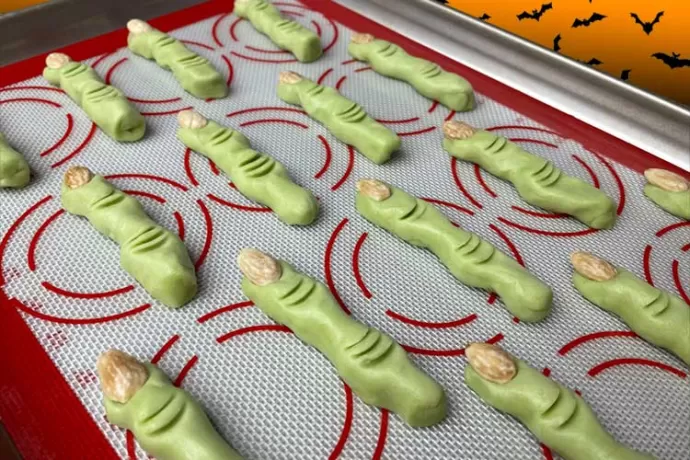
No cookie cutters were needed to make these witch fingers. Simply roll the dough into the shape of a finger.
Sizes
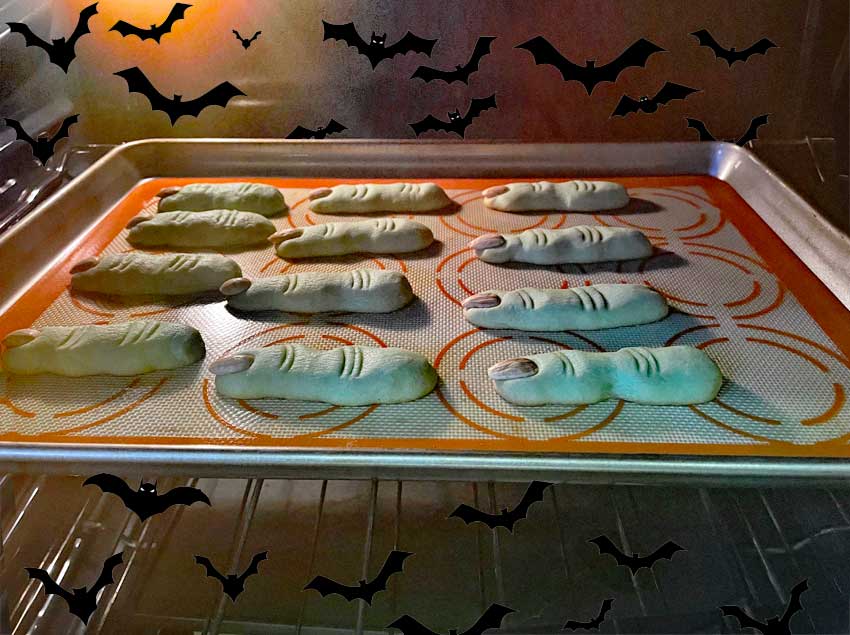
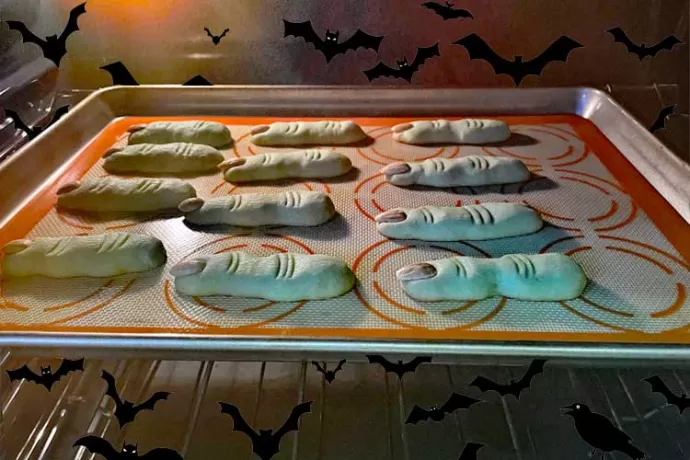
I scooped out 20 grams of dough and rolled each finger about 3½ inches long and ¾ of an inch wide. They spread out in the oven to become less creepy and quite chubby, so that’s why I called mine Chubby Witch Fingers. Leave out the baking powder if you don’t want them to spread.
Cookie Recipe from This Talented Cookie Artist
Chubby Witch Fingers. Original recipe — “Creepy Witch Finger Cookies” — is from Janet at Simply So Good. If you want to duplicate these tasty and ghoulish treats, Janet gives you step-by-step instructions and some wonderful tips. Thank you, Janet! It was a lot of fun to make these truly creepy and oh-so-unique cookies.
Chocolate Dip
White Chocolate and Semi-sweet Chocolate Dip: I love chocolate and almonds together so decided to dip the underside of half of my witch fingers in green-tinted melted white chocolate and the other half in melted semi-sweet dark chocolate. Result? More yummy-ness to an already delicious cookie.
Cookies
Witch Finger Cookies: butter, confectioner’s sugar, egg, almond extract, vanilla extract, all-purpose flour, baking powder, salt
Icing & Decorative Embellishments
Whole blanched almonds: I toasted them to enhance the flavor. This also gave them an weathered look that somehow made them scarier.
White Chocolate: sugar, cocoa butter, nonfat milk, vanilla
Semi-Sweet Chocolate: cocoa beans, evaporated cane syrup, cocoa butter, sunflower lecithin
Plate, Box or Bag?
Bags. All the “fingers” were individually wrapped in clear, food-safe bags, secured with a twist tie. Then I packed the individual bags into a quart-sized freezer bag. This made it easy to package them for mailing.
Mailing. I put the freezer bag of cookies into sturdy boxes to mail them Priority Mail through the U.S. Post Office. I had some very funny texts from some of my relatives, who seemed surprised at the creepy-ness of these particular Halloween cookies. See the comments section below.
What I’ve learned...
These cookies were made with the best ingredients I could find and baked in a small batch of two dozen. I’ve experimented with less expensive ingredients, but have come to the conclusion that flavor is best when I use the best. Why spend all this time baking and decorating if taste and texture are just so-so? Decorating the cookies takes time, but it’s an enjoyable process for me and I know that those who receive them appreciate that. Life is just better when you can share something you love with someone you love. Don’t you agree?
NOTE: Flying bats in the following slides came from Bat Vectors by Vecteezy:
NOTE: Board background in the following slide came from Free Stock photos by Vecteezy:


Comments
Hey! Perfect fit. I’ll save…
Hey! Perfect fit. I’ll save this one in case I ever lose my middle finger…
Thank you so much for these…
Thank you so much for these amazing cookies! You are so talented and thoughtful 😘😘😘🎃 They are amazing!! The almond fingernail!! 🤣
Leave a comment